LOADING...
データを取得中です。少々お待ちください。
LOADING...
データを取得中です。少々お待ちください。
・Nuxt.js: 3.8.2
・Storybook: 7.5.3
1. Nuxtプロジェクトのルートディレクトリで以下のコマンドを入力し、Storybook 7をインストールします。途中でESLintをインストールするか聞かれるので「yes」を入力してEnterキーを押下します。
※インストール完了後に自動生成された以下のディレクトリを削除しておきます。
stories
※package.jsonに以下を追加します。
2. 以下のコマンドを入力し、 Storybookを起動します。
3. 以下のURLにアクセスします。Storybookのダッシュボードが表示されていることを確認します。
http://localhost:6006/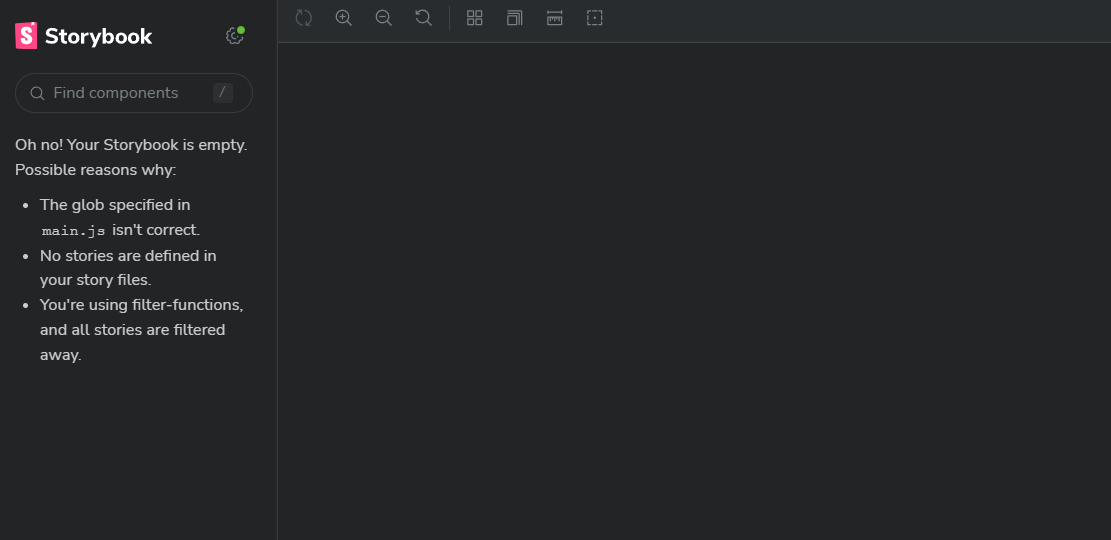
4. 手順2のコマンドを実行したターミナルでCtrl+CもしくはCmd+Cを入力してStorybookを停止します。以下のURLにアクセスしてもぺージが表示されないことを確認します。
http://localhost:6006/
1. 以下のコマンドを入力し、NuxtのStorybookプラグインをインストールします。
2. nuxt.config.tsに以下を追加します。
3. 以下のコマンドを入力し、Nuxtを起動します。3000番ポートでNuxtが起動し、6006番ポートでStorybookが起動していることを確認します。
4. 以下のURLにアクセスします。Storybookのダッシュボードが表示されていることを確認します。
http://localhost:6006/
1. index.vueを以下の内容で修正します。
2. index.stories.tsを新規作成し、以下の内容で保存します。
3. 以下のURLにアクセスします。Storybookのダッシュボードの左側にIndexが表示されており、選択した場合にIndex.vueファイルの内容が表示されていることを確認します。
http://localhost:6006/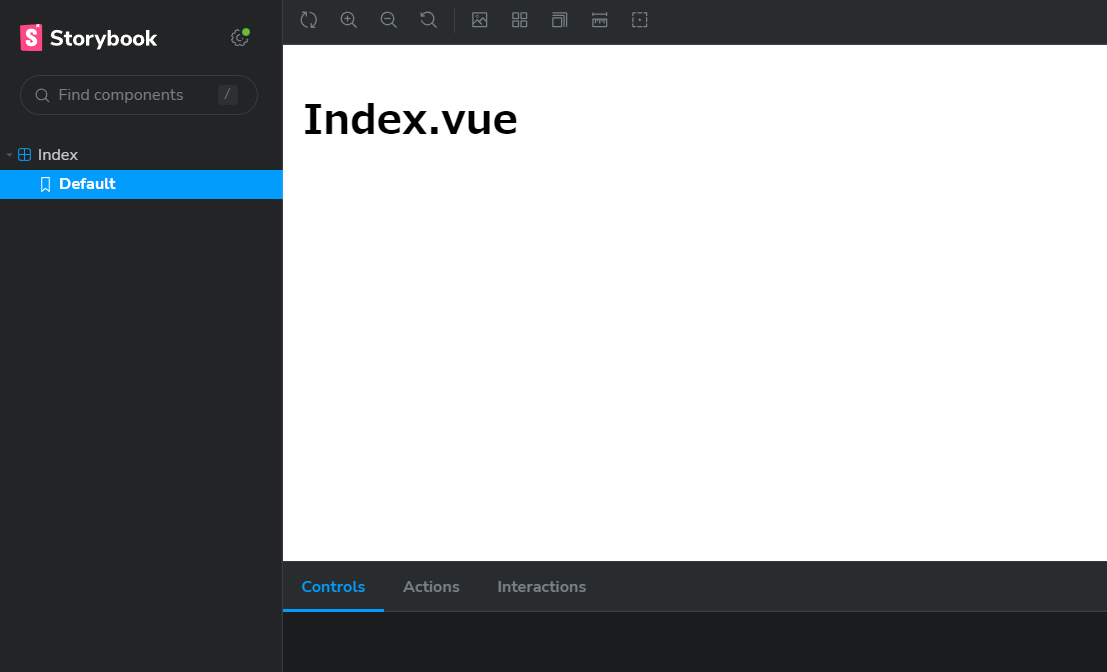
1. 「.storybook/main.ts」にviteFinalを追加します。
※上記はエイリアスとして「@」と「~」を追加しています。ソースディレクトリは「src」を想定しています。
2. 以下のURLにアクセスします。該当のStoryを選択し、エラーが発生せずに画面が表示されていることを確認します。
http://localhost:6006/
以上で全ての手順は完了になります